Pages

Thursday, March 28, 2013

Accessorizing on the Cheap

We are getting ready to add built-ins in our office so I've kept my eyes out for options to accessorize them. 

I found these (ugly) canisters at Salvation Army a few weeks ago for 99 cents each. I really liked the shape and since they are wood, I knew I could easily do something with them. 


This was a pretty easy project. I removed the handles from the canisters, and lightly sanded everything. I knew I wanted yellow and white chevron stripes so instead of using paint, I decided to try decoupage. To prep the surface, I primed and painted the edges of the canisters and lids since I knew the paper wouldn't cover every inch. After finding printable chevron paper online, I printed it and cut the paper to fit on each side of the canisters and lids. I used Mod Podge to glue the paper onto the surface of the boxes. Then I put two coats of Mod Podge over the paper, closely following the directions on the bottle and waiting 15 minutes between coats. Finally, instead of using the old wooden handles/knobs, I installed glass knobs to the lids. 

I love how they turned out!

Wednesday, February 27, 2013

Striped Stairs and more...

Our back door entry and stairs going into our basement were pretty dingy and depressing. We had old paint, dark moldings, and paneling on the walls; and ugly flooring on the stairs.


So, we did a face-lift to brighten things up and make our entryway more appealing. I saw many pins on Pinterest of stripes on stairs and was very inspired. So, after removing the paneling, repairing the drywall, removing the linoleum flooring on the stairs, and painting the walls, we conquered the stripes. We love how they turned out!
stripes on stairsstripes on stairs

I also found this black (partial) light fixture (below on the left) at a flea market for only $8. My husband combined it with the light fixture pictured below (right) to make it complete. 


 Last, I painted the fixture gloss turquoise. I love how it turned out.


For the walls, I took this old coat hanger and repainted it. See the end result in the picture below.


Over the stairs, I pulled together a bunch of miscellaneous frames and mirrors and painted them to coordinate with the light fixture. I also made the paper wall medallions I saw on Better Homes & Gardens website.

chevron

Last, I painted the door with this quatrefoil template I found online. First, I taped off a rectangle on the door to paint the orange. Then, I used the template I found online to make a stencil. When I was ready to trace the image on the door, I used a paint marker to trace the image. Then I went over the traced image with a small detail brush a couple times. It's another fun detail I really like.

chevron


Sunday, January 20, 2013

Valentine Door Decor


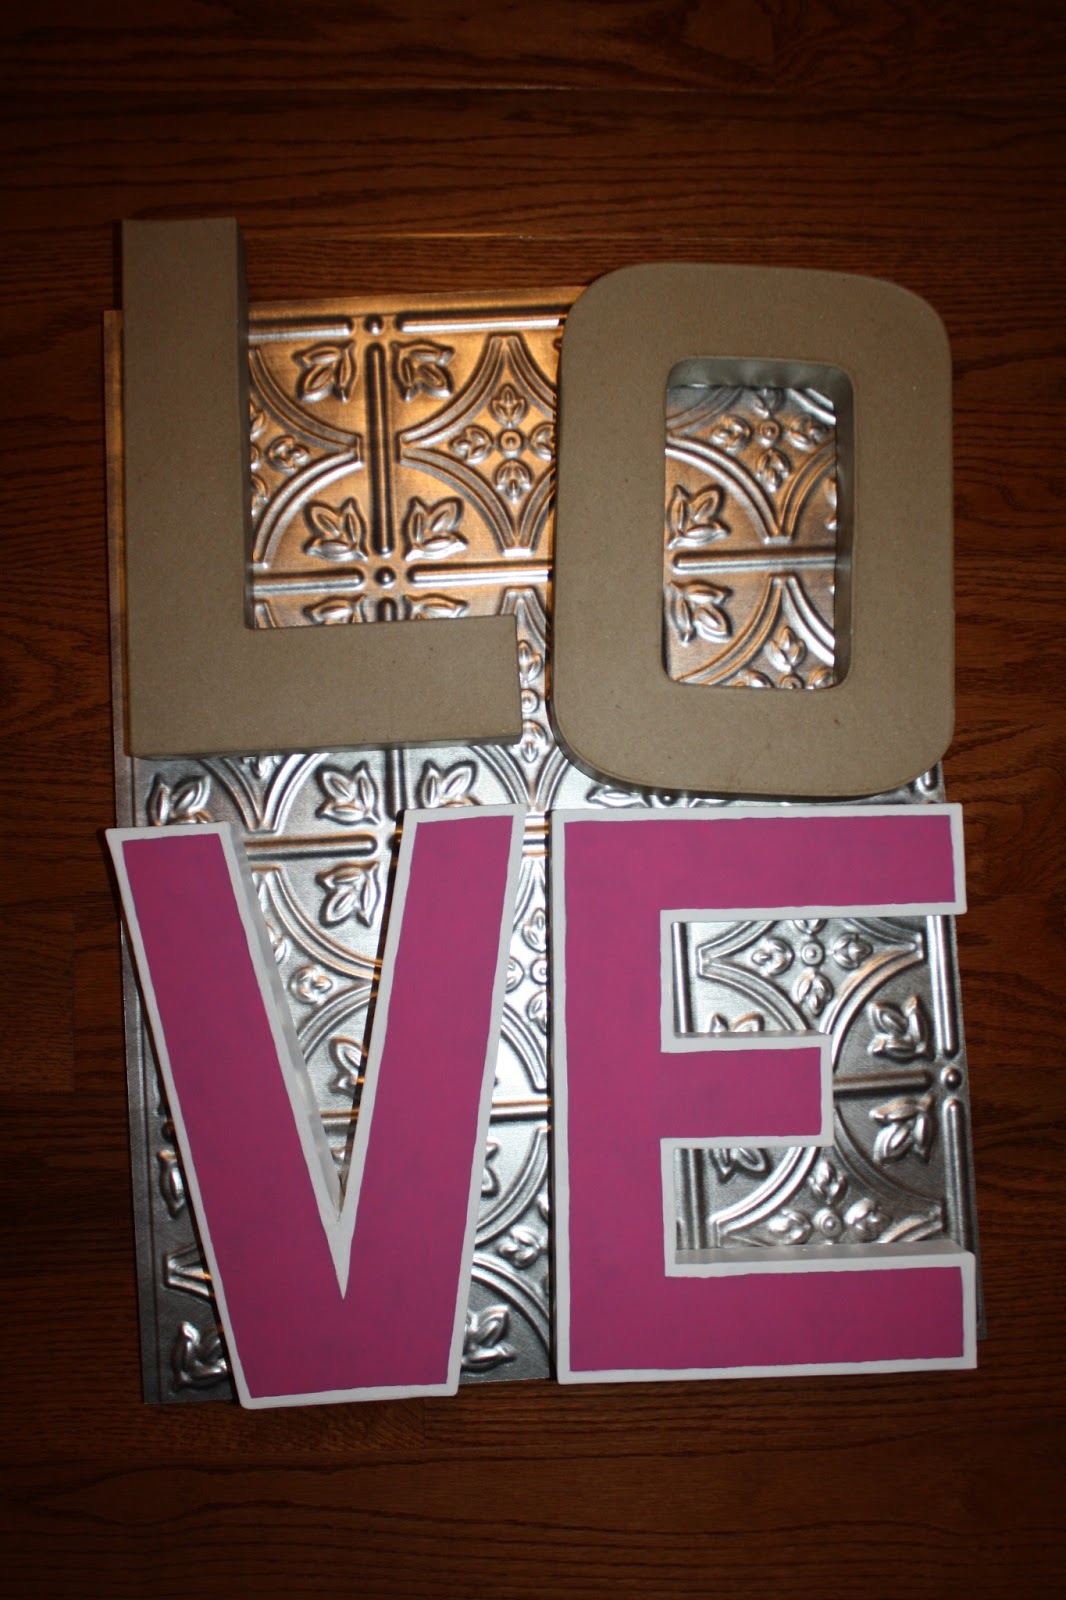
A couple years ago I made wall art out of  faux tin back splash panels I purchased at a home improvement store. 


Basically, I made frames out of scrap wood and glued the panels to the frames.


You can see them on the wall in one of my previous posts and in the picture below. 


I ended up not liking them that much and only had them hanging on the wall for a little while. So, ever since, I've tried to come up with something to do with the tin panel art. 

After some thought, I bought paper mache letters from the local craft store, painted them to my liking and glued them to the back splash panel. I braided 3 different ribbons together to make a hanger and used a staple gun to attach it to the back of the frame. Now I have this cute/vibrant door decor!


Saturday, September 29, 2012

Something old (and broken) is new again!

I picked up this old broken window from the garbage a couple years ago. It has been wrapped in a blanket in my attic all this time. Recently, I came up with this idea to fill space on my bare family room wall. Here's what I did. You can't tell from the photo, but the glass is missing in three of the openings. In order to create symmetry, I moved one of the panes so I had them where I wanted them. Next, I took some extra fabric from my family room curtains and cut it to fit inside the window squares. To get the fabric to stick, I used spray fabric starch. I layed the window face-down, placed the fabric on the window and soaked it with the starch. Once the fabric dried, it stuck to the glass. Originally, I thought the fabric would be enough but it wasn't. So, after completing my previous project with the initials in my master bedroom, I decided to use the wooden letters to add additional interest. Finally, I added the felt flower I made to round out the arrangement.


Monday, July 23, 2012

Initial Decor

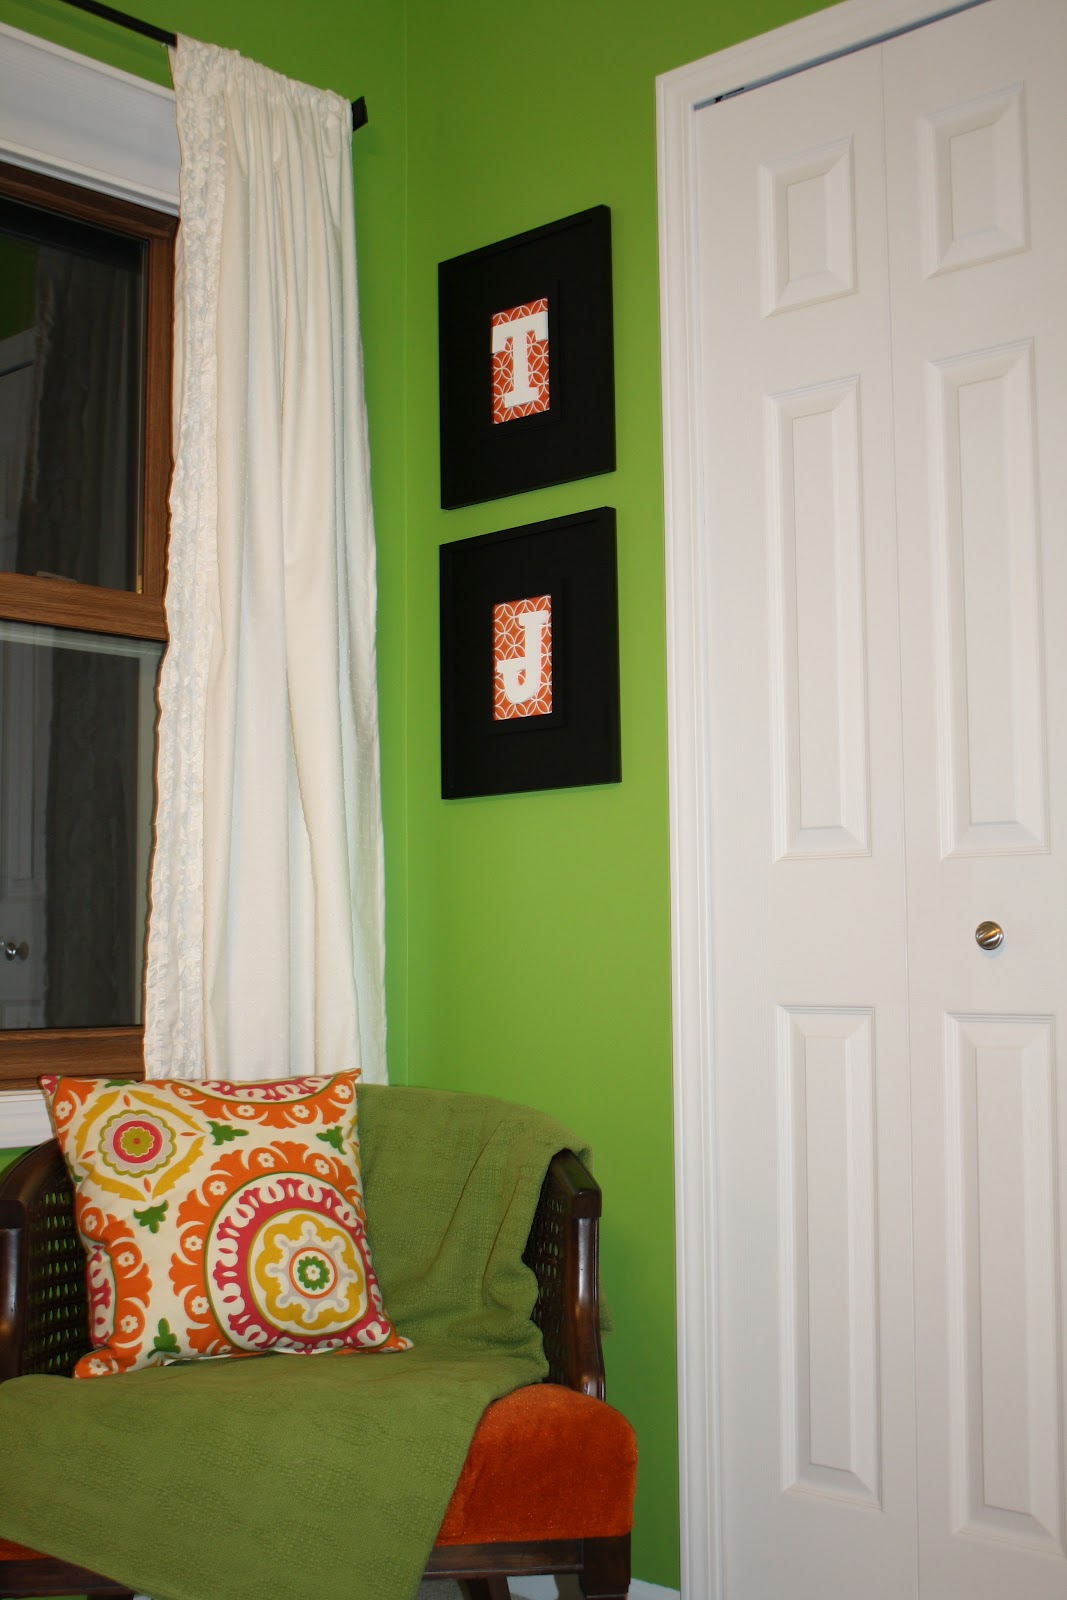
This project was pretty simple. The wooden letters pictured were used as decorations for my wedding. Recently, I hung them on the wall in my master bedroom but they looked too plain. So, I took two old picture frames, removed the glass and added bright-colored paper in the opening. Then I planned to glue the letters to the paper. However, I ran into a little issue.

If you look back at the before and after pictures, you will notice the letters are different.  I ended up having to use new letters because the ones I originally had were a little too large for the frame opening.  In the end it worked out nicely. I really like how the framed initials turned out and I found another use for the original letters! So, now I'm off to write the blog post that shows what I did with them.


Sunday, February 19, 2012

An Old Table Gets a Modern Update

This end table was a curbside find that my parents picked up. I really love the lines but it was in pretty bad shape when I got it. As you can see the leather top was a mess and the edges were pretty rough. So, I decided to give it some love by cleaning it up and painting it. Here are two "before" pictures:


First, I decided to remove the leather top. I wasn't sure how difficult this was going to be but, to my surprise, it was pretty easy. After my online research I decided that using my steamer was going to be my best bet. So, I pulled out the steamer and with only a bit of patience and a putty knife the leather top came off without much effort...and in one piece!


After a bunch of sanding, some patching with wood putty and spackle, primer and spray paint I have a nice modern table. I chose to use the same hardware because I like the design and actually love the patina on it from years of use.


There may be another project in line for this table in the future. Since I didn't replace the leather top I am still contemplating what to do with the top. I do think I could just leave it as is. There is a small dip between the area on the top where the leather was and the rest of the top but I don't see it as being an issue. I have considered buying a piece of glass to put on top and maybe putting some pretty paper under it. We will see. I'm sure at some point I will be looking for a small project to do and this will satisfy my urge. :) If and when this happens I will share the result at that time.

Finally, here is a side-by-side before and after picture:


Wednesday, January 18, 2012

Thrift Store Find Turns Chic

I found these candle wall sconces at my local Salvation Army. I wasn't keen on the gold/cream paint but knew they would look really cool painted glossy black or a bright color.

Because of the intricate detail, I didn't want to sand them. So, I used a "liquid sandpaper" product (ie: Klean-Strip Easy Liquid Sander Deglosser) I purchased at a home improvement store. I simply applied the deglosser using a rag and circular motions. Next, I primed and painted the sconces. As usual, I used spray paint because I think it's the easiest way to paint objects...and you never get brush strokes.