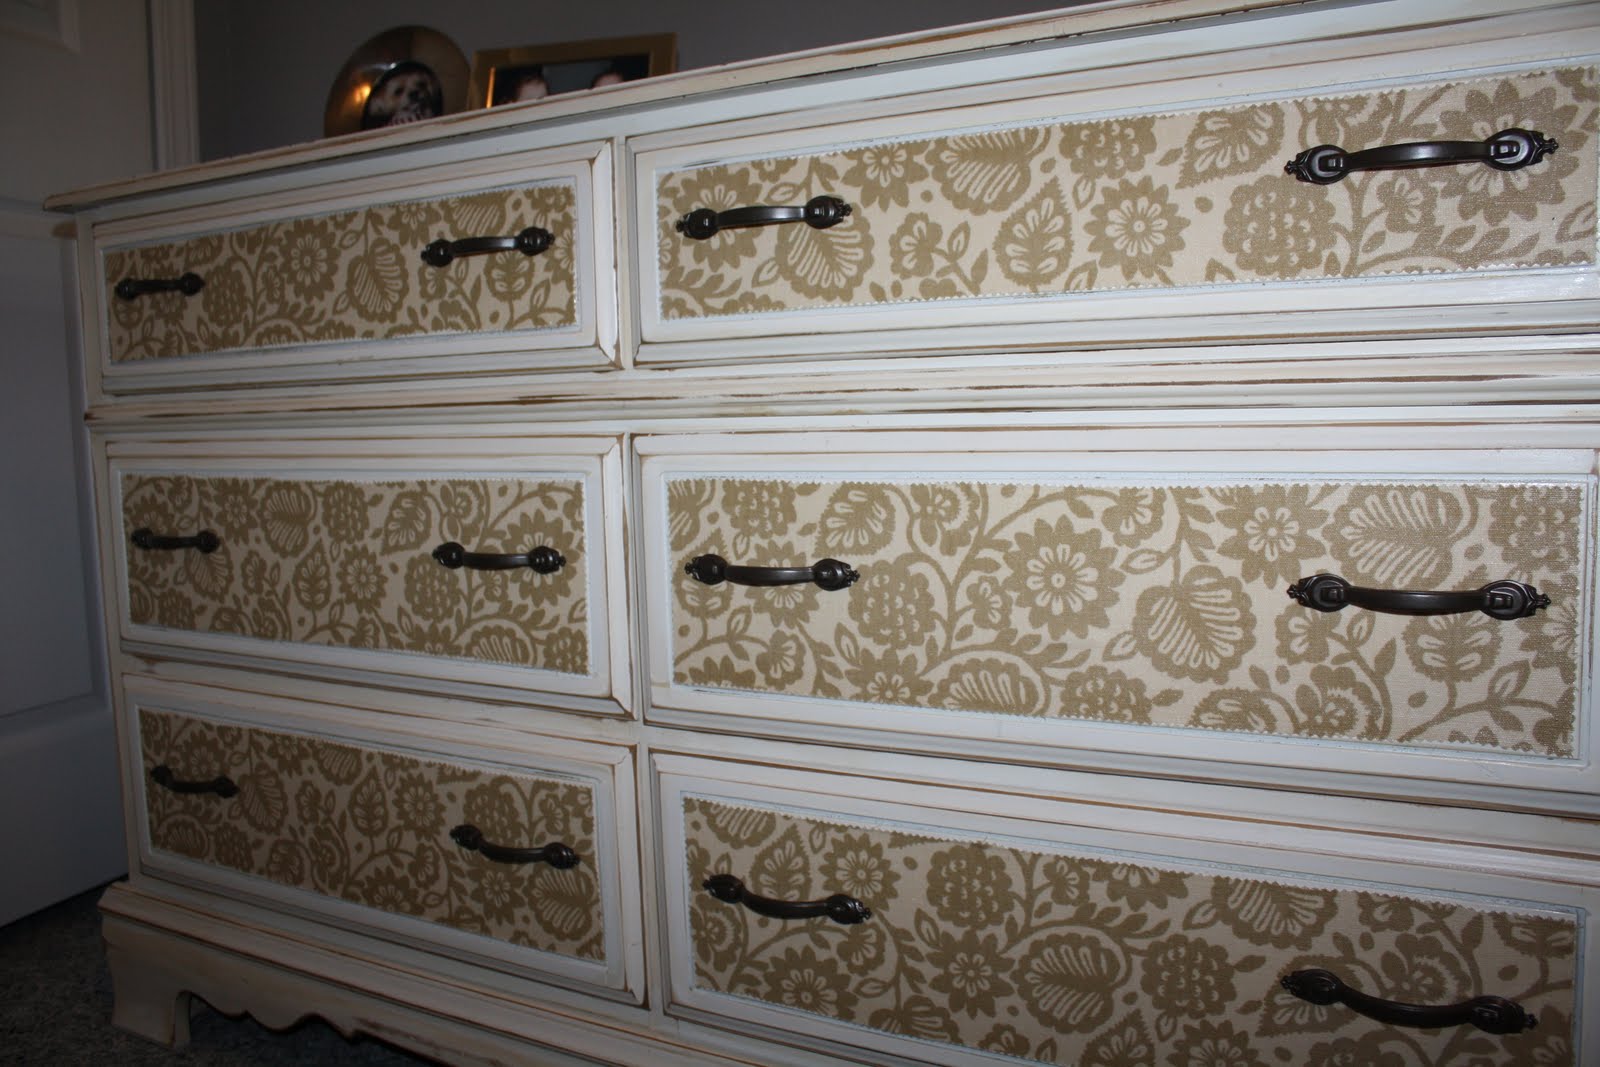
This dresser goes with a funiture set my parents bought me when I was a child. I put it to good use for about 25 years before my dad made me a new set. As you can probably tell from the picture, it stayed in wonderful condition over the years - which is why I have kept it so long. It even went through a quick makeover when I was in my early teens -- my parents gave it a fresh coat of paint and new hardware.
When I bought my first home and moved out of my parents' house I left it behind because I didn't have room for it. About a year and a half ago, I moved into my new home and my parents were happy that I'd finally have room for it at my place. Because of the history, and since there is really nothing wrong with it, I wanted to put it to good use - but not before giving it a makeover!
 First, I removed the hardware, sanded, primed and painted it the color of oil-rubbed bronze.
 Next, I replaced the hardware and the job was complete!
 I thought you might like to see what we did with an old hutch we had. We made a hanging bookshelf for our foyer. I needed something for the space, it couldn't be deeper than 12 inches and I couldn't find anything in the furniture stores that I liked. The picture of the hutch is a similar version of what we used.